How to Design a Video Surveillance System: Camera Placement, Coverage, and Architecture
Start With a Threat Assessment, Not a Camera Count
The most common mistake in surveillance system design is starting with a number of cameras rather than a threat model. How many cameras do I need? is the wrong first question. The right questions are: what are you protecting, from whom, and what does a successful outcome look like? A warehouse protecting against theft at loading docks has entirely different coverage requirements than a hospital protecting patient privacy corridors while maintaining regulatory compliance. This guide walks through a professional system design process that any security manager, facilities director, or IT administrator can follow.
Step 1: Define Your Objectives
Before reviewing a single camera spec, write down what you need your surveillance system to do. Common objectives include:
- Deterrence: Visible cameras that discourage unauthorized entry, theft, or vandalism
- Detection: Alerting security personnel to events in real time via motion detection or analytics
- Documentation: Recording footage to support incident investigations, insurance claims, or legal proceedings
- Identification: Capturing enough image detail to identify individuals or vehicles
- Compliance: Meeting regulatory requirements (HIPAA, FERPA, TSA, government facility standards)
Rank these objectives. A system optimized for deterrence deploys prominent, wide-angle cameras in visible locations. A system optimized for identification deploys narrower field-of-view cameras at choke points — entries, cashiers, vehicle lanes — where faces and plates are captured in detail.
Step 2: Conduct a Physical Security Audit
Walk the site with a floor plan or site map. Mark every:
- Entry and exit point (doors, gates, loading docks, emergency exits)
- High-value asset location (server rooms, cash handling areas, controlled substance storage, data centers)
- Perimeter boundary (fence lines, building exteriors, parking areas)
- Interior chokepoint (corridors, stairwells, elevator banks)
- Known or suspected vulnerability (blind spots from existing cameras, areas with prior incidents)
This walk-through becomes your camera placement map. Each mark on the map is a candidate camera location. You will refine this list based on coverage requirements, cable routing, and budget.
Step 3: Determine Coverage Requirements Per Zone
Not all areas require the same image quality. Use this tiered framework:
Tier 1: Identification Quality
Required at: main entry doors, access control readers, cash registers, bank teller windows, vehicle entry lanes, server room doors. Camera type: 4MP-8MP with narrow or varifocal lens, positioned to capture face or plate at 4-8 pixels per inch. For vehicle lanes, use a dedicated license plate capture (LPC) camera with optimized exposure for plates.
Tier 2: Detection Quality
Required at: interior corridors, retail sales floors, lobby areas, warehouse interiors. Camera type: 4MP wide-angle or panoramic, positioned to cover maximum area. Adequate for detecting presence and general activity — not for detailed identification.
Tier 3: Situational Awareness
Required at: large open areas, parking lots (combined with dedicated LPC at entry/exit), perimeter fence lines. Camera type: PTZ for active monitoring of large areas, or multi-sensor panoramic cameras (180 or 360 degree) for wide static coverage. Used to understand the overall situation rather than capture forensic detail.
Step 4: Select Camera Types for Each Zone
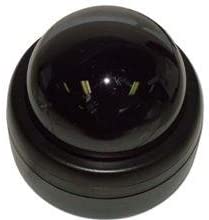
Fixed Dome Cameras
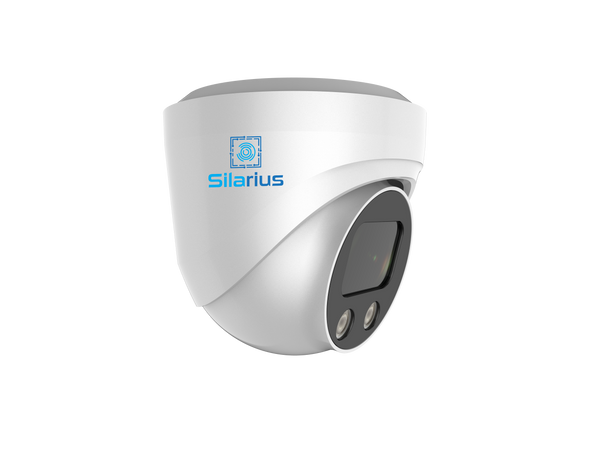
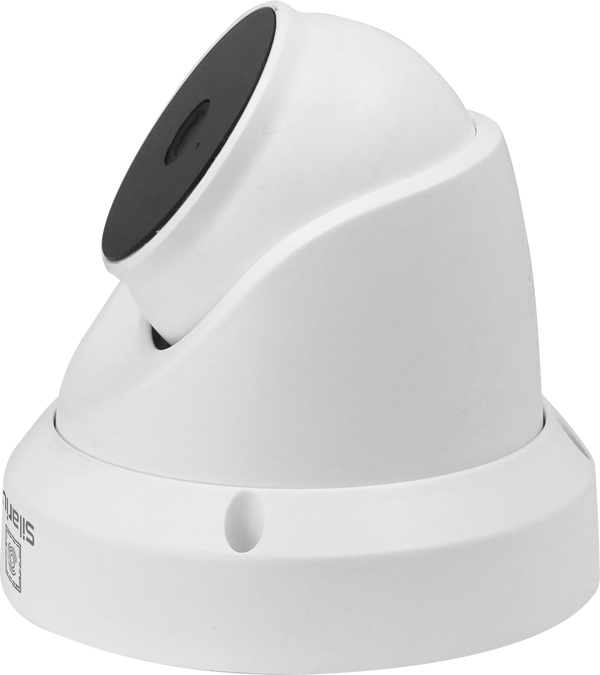
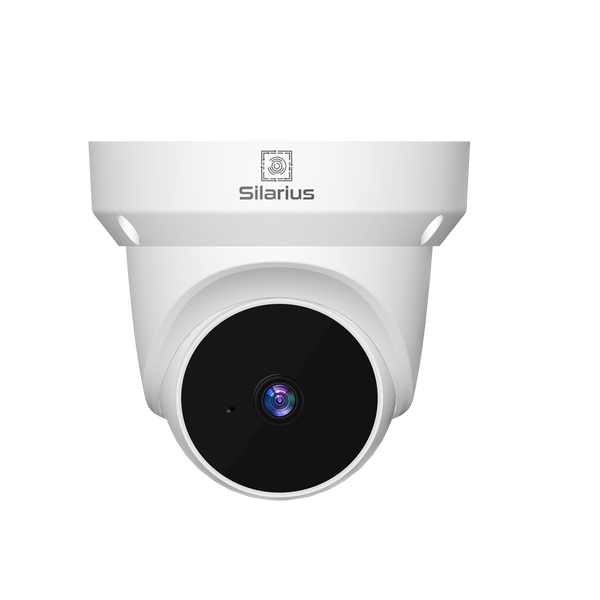
The workhorse of indoor installations. Vandal-resistant dome housing, wide-angle lens, discreet appearance. Best for corridors, ceilings, and interior spaces where the coverage area is well-defined. Choose 4MP minimum; 5MP for identification zones.
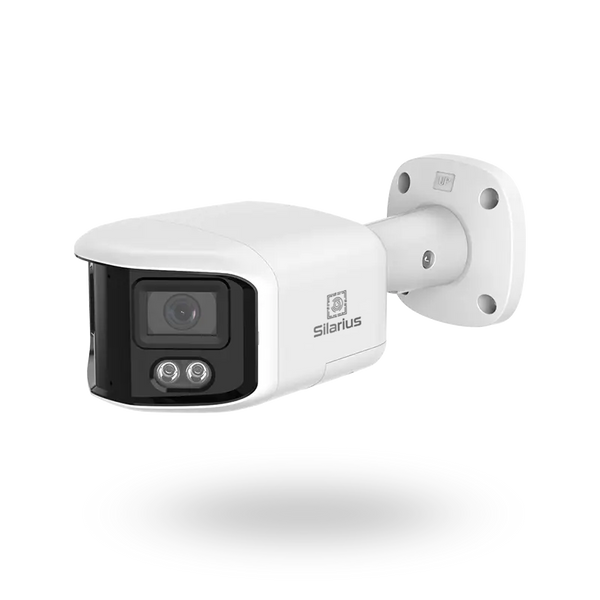
Fixed Bullet Cameras
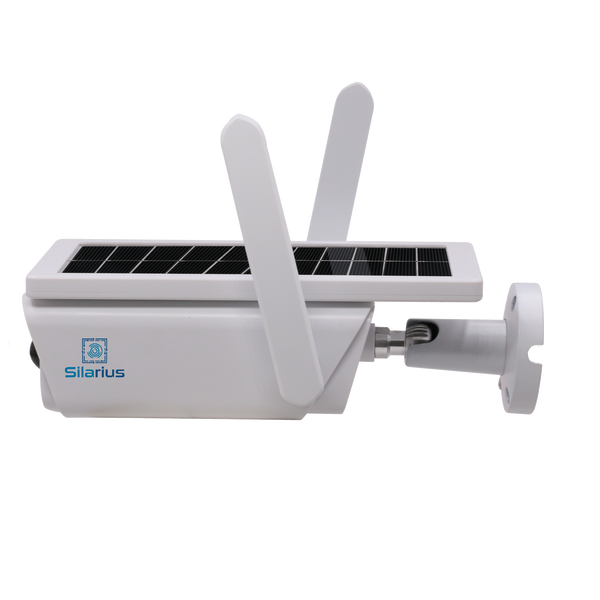
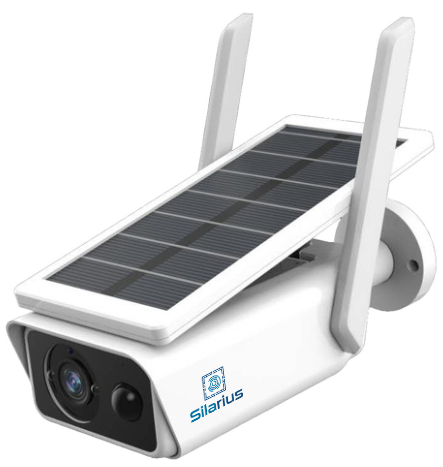
Longer range than dome cameras, visible deterrence, typically weatherproof. Best for parking lots, perimeter walls, building exteriors, and areas requiring 30-50 meter coverage. The elongated form factor allows larger IR illuminators for better night coverage.
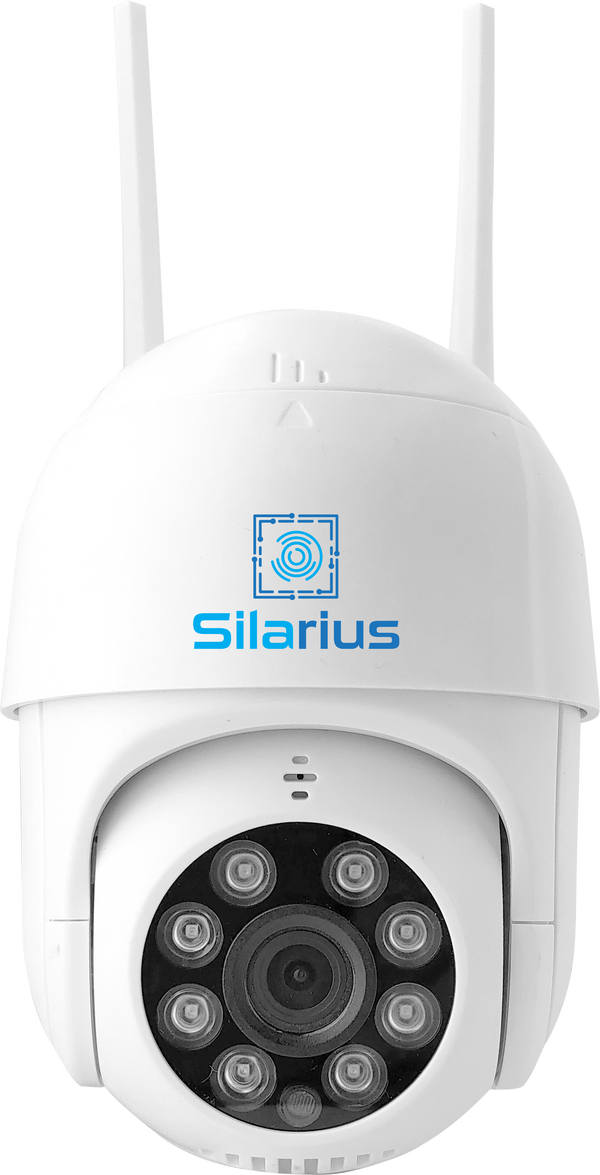
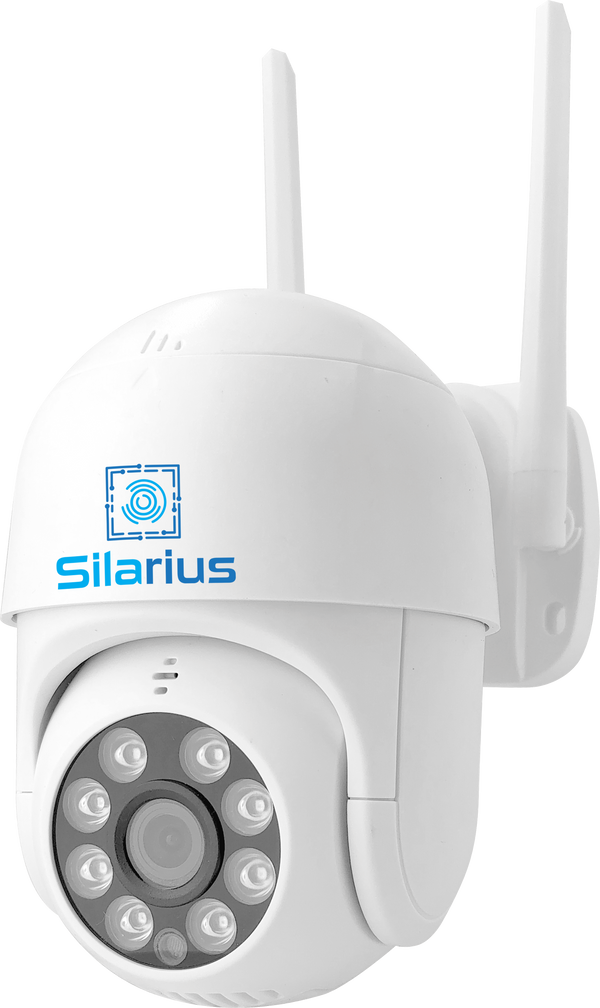
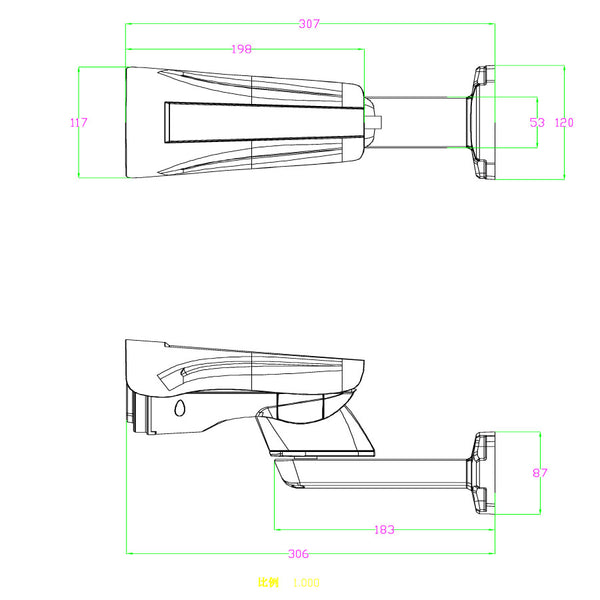
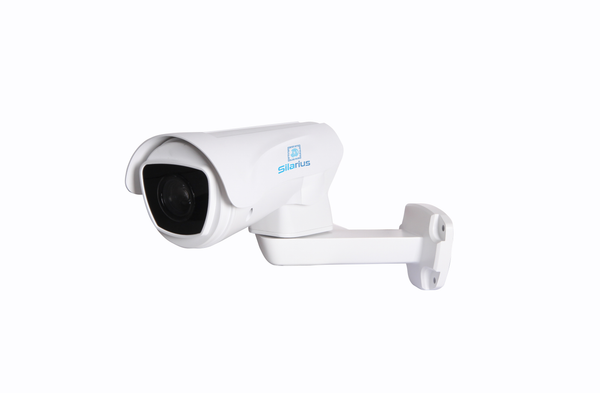
PTZ (Pan-Tilt-Zoom) Cameras
Motorized cameras that can pan, tilt, and zoom under operator control or programmed patrol routes. Best for large open areas requiring active monitoring: stadiums, parking structures, campuses, warehouses. Require PoE+ (802.3at) minimum power. Note: PTZ cameras do not record all directions simultaneously — a fixed camera at the same location records everything, all the time.
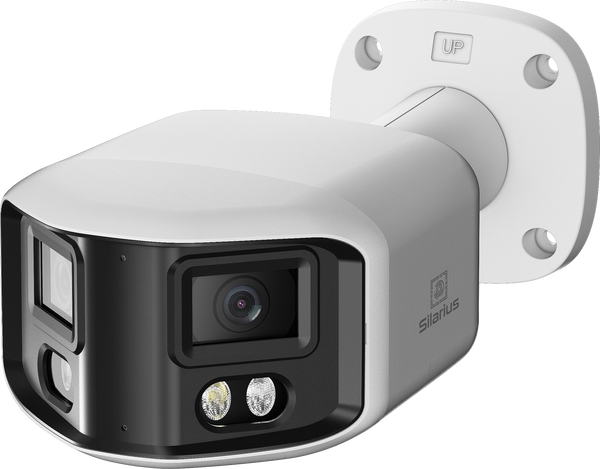
Multi-Sensor Panoramic Cameras
Multiple fixed lenses (typically 3-4) in a single housing providing 180 or 360 degree coverage. Best for replacing multiple single-camera deployments in open areas — a single 4-sensor panoramic camera on a warehouse ceiling may replace 4 dome cameras while consuming a single cable run and one NVR channel (some models use multiple channels).
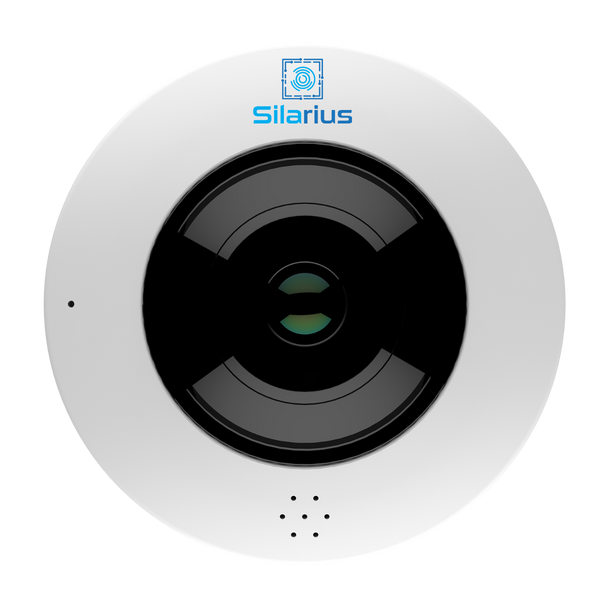
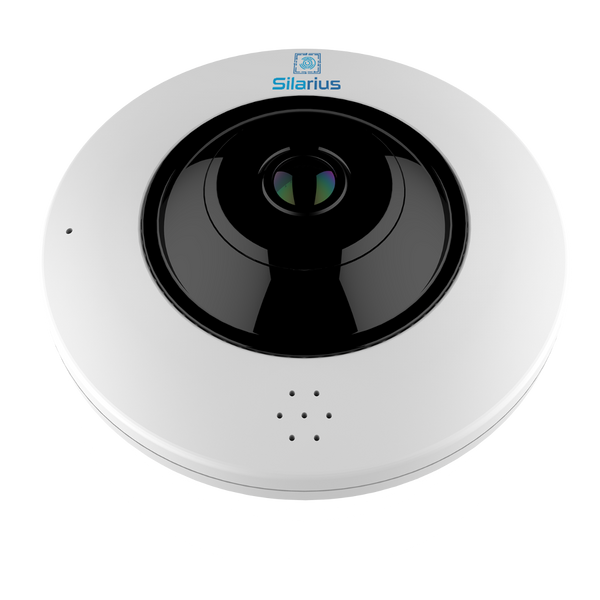
Fisheye Cameras
Single ultra-wide lens providing 360 degree coverage from a single ceiling mount. Best for small rooms where full-room coverage is needed without multiple cameras. De-warping software is required to view usable footage; most NVRs and VMS platforms handle this automatically.
License Plate Capture (LPC) Cameras
Purpose-built for vehicle entry/exit lanes. Narrow field of view, optimized shutter speed and exposure for plate illumination, often with integrated IR. Must be positioned at correct height and angle for the lane width. Always paired with a general overview camera covering the vehicle and driver.
Step 5: Plan Your Network and Power Infrastructure
Each IP camera requires a data path to the NVR/VMS and a power source. For PoE cameras (the standard), a single Cat6 cable handles both. Plan cable routes from each camera location to the nearest network distribution point (IDF/MDF or NVR location). Key infrastructure decisions:
- Cable routing: Through ceiling plenum spaces, conduit, cable trays, or surface raceways
- NVR placement: Secure, climate-controlled, UPS-protected, accessible for maintenance
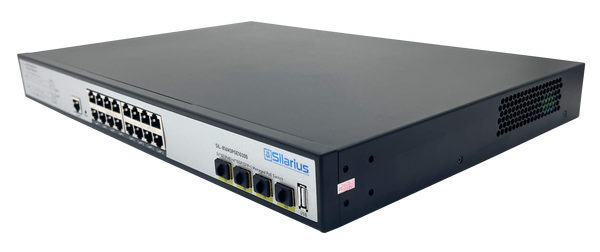
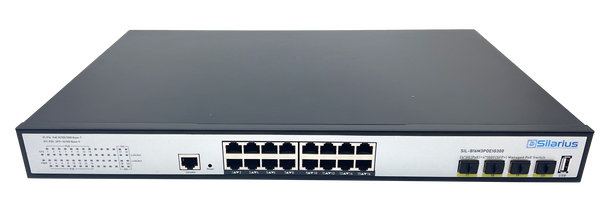
- PoE switch placement: Close to camera clusters to minimize cable run lengths
- Network segmentation: Place cameras on a dedicated VLAN isolated from corporate network
- UPS / battery backup: All NVRs and PoE switches should be on UPS for power continuity
- Fiber uplinks: For large campuses with multiple buildings, fiber between buildings with media converters at each IDF
Step 6: Calculate Storage Requirements
Use this formula: Total storage (GB) = (Bitrate per camera in Mbps x 3600 x hours per day x retention days x number of cameras) / 8. At H.265+, a 4MP camera uses approximately 3-4 Mbps. For 16 cameras recording 24/7 for 30 days: (3.5 x 3600 x 24 x 30 x 16) / 8 = approximately 9,072 GB or 9TB. Purchase NVR HDDs with at least 20% headroom beyond calculated needs. For critical deployments, configure RAID 5 or RAID 6 for drive redundancy.
Step 7: Document and Review
Before purchasing equipment, produce a system design document that includes: site map with camera locations marked, camera specifications per location, cable routing plan, network diagram, power plan, storage calculation, and NVR/switch specifications. Have this reviewed by a licensed security integrator. Errors caught in design cost nothing; errors discovered post-installation can cost thousands.
NDAA and Compliance Considerations in System Design
For any deployment involving federal facilities, federal contractors, or federally funded programs, every component — cameras, NVR, PoE switches, even the VMS server — must be evaluated for NDAA Section 889 compliance. Silarius provides complete system design services with full compliance documentation for federal and regulated deployments. We can specify, supply, and document every component in your system for NDAA and TAA compliance.
Work With Silarius on Your System Design
Silarius engineers have designed surveillance systems for federal agencies, hospital networks, K-12 districts, higher education campuses, and enterprise facilities across the country. We offer complimentary system design consultations for qualified projects, including camera placement recommendations, network architecture, and full NDAA/TAA compliance documentation.
Schedule a system design consultation, or browse our complete security camera systems.